Creating a client
Add a new client to your Level workspace — name, description, logo with built-in cropping.
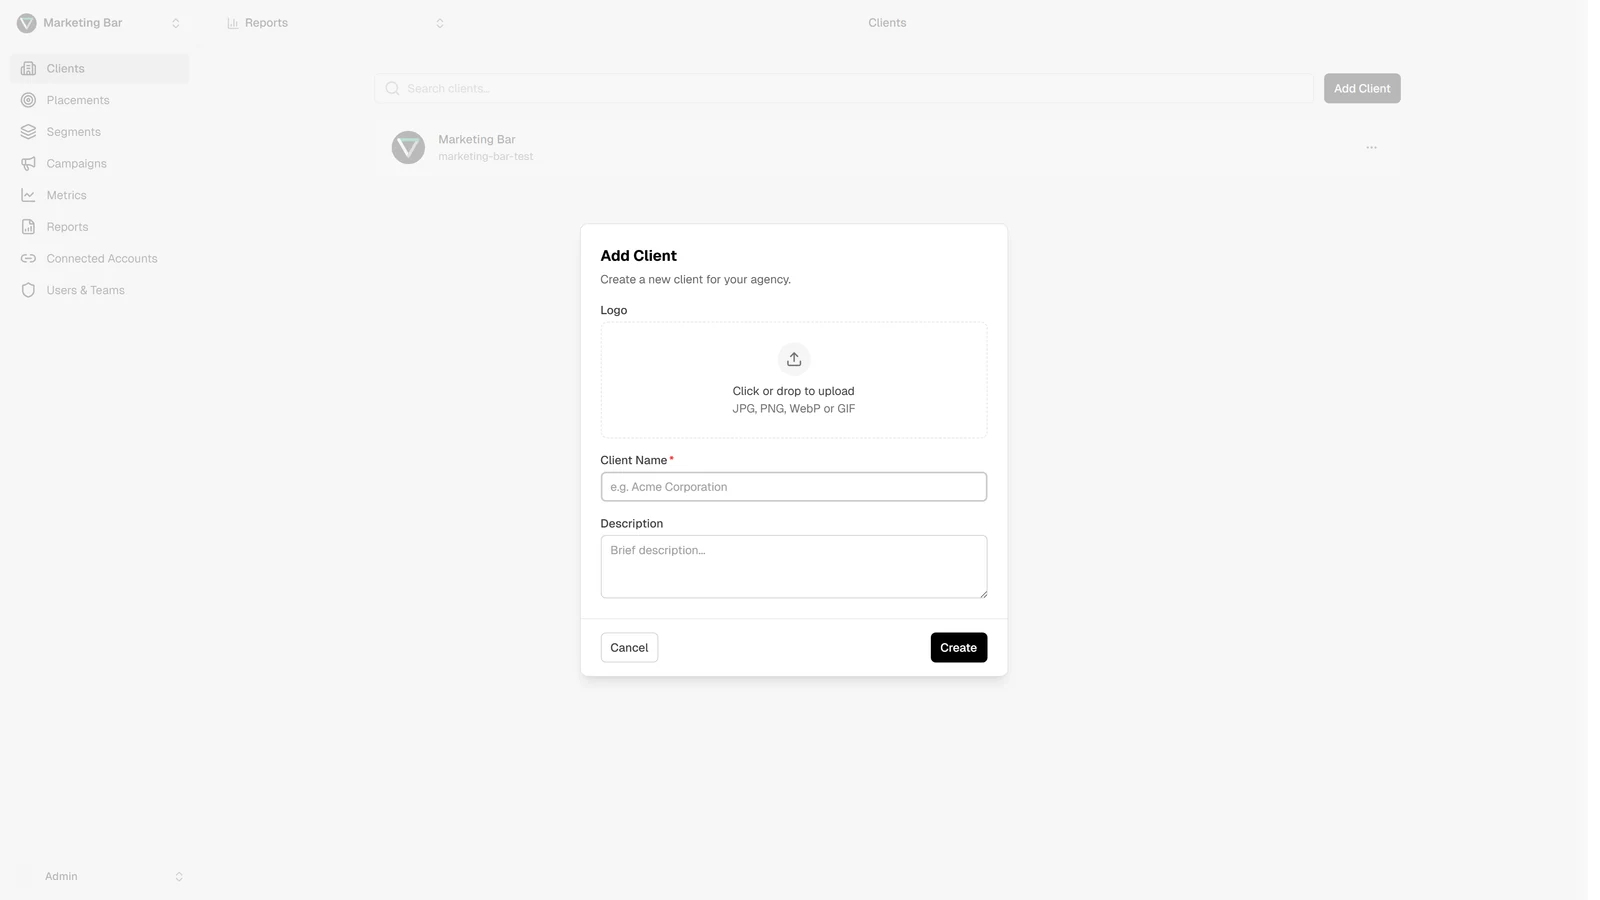
Open /clients and click Add Client at the top right. The client modal opens in create mode.
Fields
The form has three pieces:
Logo (optional)
A square image used everywhere a client appears — switcher, table, header.
- Formats: JPG, PNG, WebP, GIF (animation is preserved).
- Max size: 5 MB.
- Source: drag-and-drop the file or click the upload area to pick one.
After you select a file, Level opens a crop dialog:
- The crop box is locked to a 1:1 (square) aspect ratio.
- Drag the four corner handles to resize.
- The image itself doesn't move — only the crop box. To re-position, choose a different source file.
- Click Save to apply, Cancel to drop the upload.
The cropped image is uploaded as JPEG (quality 0.9) into the client-logos storage bucket and the resulting URL is saved on the client record. You can swap it out any time from edit mode.
Client name (required)
The visible name everywhere — switcher, lists, report headers.
- Trimmed before saving (leading/trailing whitespace stripped).
- Cannot be empty.
- Placeholder hint in the form: e.g. Acme Corporation.
Description (optional)
A short blurb shown under the name in the clients table — useful when the same brand has multiple clients (e.g. Acme — APAC vs Acme — EMEA).
- Free-form textarea, ~3 lines.
- Empty is fine.
What happens when you submit
- If a new logo was uploaded, it's pushed to storage first and the resulting URL is attached to the create payload.
- Level creates the client and generates a URL-safe identifier from your name (e.g. acme-corporation in the URL).
- The clients list refreshes; the new row appears.
- The new client is not selected automatically — open the client switcher and pick it to start configuring placements.
What you don't set here
The create form deliberately keeps the surface small — these are configured later, not at creation:
- Connected ad accounts — done at Connected accounts.
- Placements — done at the client's Placements page.
- Reporting currency — set per-report when you build a Report. Each placement carries its own ad-account currency separately.
- Members and access — done globally at Users & Teams.
Next steps
After the client exists, the typical next steps are:
- Connect the relevant Google Ads / Meta accounts at Connected accounts.
- Add placements to wire those ad accounts into this client — see Creating a placement.
- Tag campaigns with segments so reports group by purpose, not by raw campaign names.
- Build a report — see Creating a report.